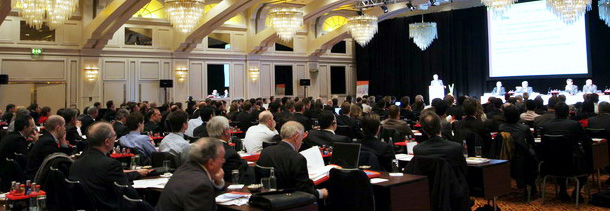
Live Event Webcasting is a powerful way to share an event with remote audiences who cannot attend in person.
Anyone with a regular Home Internet connection has the capability of viewing everything that occurs at the event – live and in real-time. Whether they at home or in an office, across the country, or on another continent (tome-difference permitting), they now have to opportunity to almost be there in person, watching events live – and in some cases, even participate using interactive communication technologies like Live online Chat.
Here’s some basic equipment you need:
- Video Camera (or cameras)
- Microphone with connection to your camera or computer system
- Live encoding software on your computer
- Adequate Lighting
- Software to broadcast your stream to a Live Streaming Server
- A Broadband Internet connection (preferably wired & not wireless)
Note: for multi-camera productions you will need a Video Switcher which has the ability to switch live between multiple cameras on the fly – just like a live TV production.
Here’s how you go about setting up your Live Event Webcast
1 Sign up for a live web streaming service.
There are many services on the Internet that allow you to stream live video – e.g. UStream, Stickam, and Livestream. These sites offer both free and premium services for your event webcast. The free versions have most of the stuff you need to webcast the event, while the premium services give you more storage space, commercial-free displays and high def streaming. They do not however, provide the equipment or setups to implement live video switching using multiple cameras – which is something you have to set up on your own.
2 Set up your Video camera
Set it firmly on a tripod – and use a good fluid head if you can afford one. Connect camera to your computer using a USB or Firewire 400 cable (depending on your camera and inputs available on your computer). Make sure you have good lighting on your subject – the speaker and position the camera so the podium and speaker are well framed. If the speaker has a tendency to wander all over the stage, you will need to follow his movements with your camera – which is where a good fluid head on your tripod comes in really handy.
3 Set up your microphone.
Good sound is a vital component of a webcast and audio is as important as video when it comes to the quality of any production. The microphone can be plugged directly into your computer mini-jack or with a USB cable. A good quality mic is essential to prevent hiss, hums or distortion. Depending on the speaker’s needs, you may need a fixed podium mic or even a wireless Lavalier mic.
4 Follow your web streaming service’s instructions to start webcasting.
The process varies from service to service, but usually it is reasonably easy.
5 Embedding the Player
If you embed your webcast player on your own website (or blog) it will allow viewers without Ustream or Livestream memberships to view your webcast. For the other services just copy and paste the provided html code into your web page using an html editor – this will give your webcast a much more professional look than displaying it in one of the free services, with all its distracting commercials.
In Conclusion
While this article shows you how to configure a very basic webcast, a more complex production requires the services of a professional webcasting company that specializes in high-quality, multi-camera productions. For more information on such services go to mediastreams.ca or call us at 604.970.5055